
How I Transformed a Blank Living Room Wall with Molding, Lighting & Art
Category: Living Room
Read Time: 8 minutes
Introduction
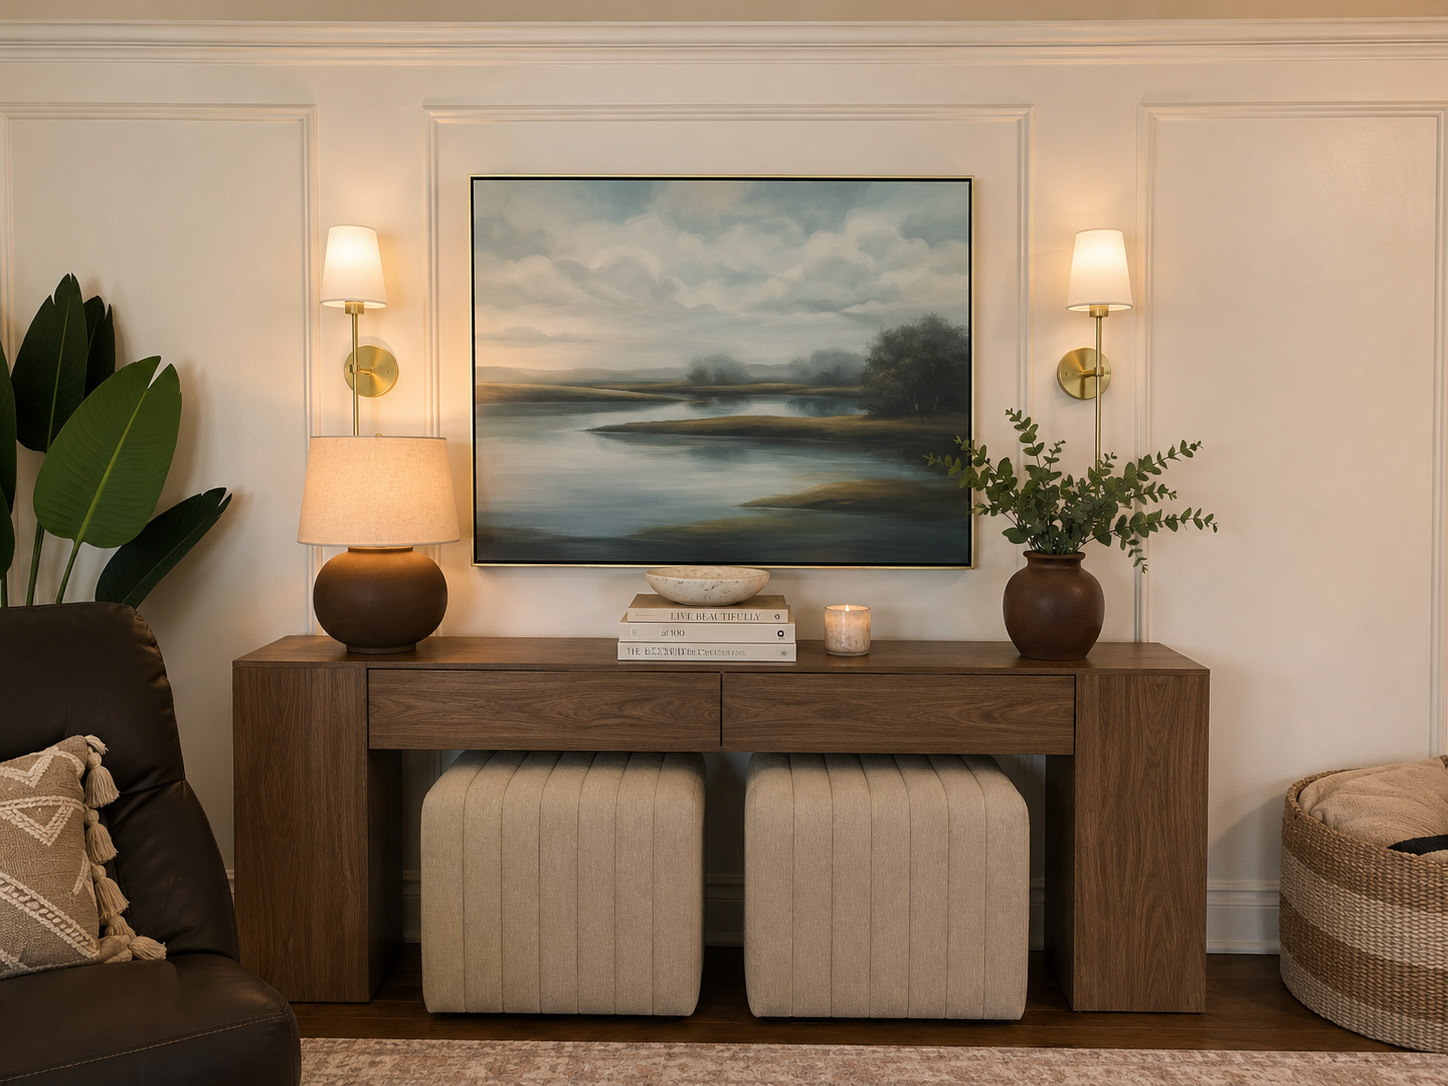
Every time I walked through our living room, my eyes landed on this wall and every time, it felt boring and unfinished.
It wasn't bad. It just felt like something was missing.
I knew I wanted the wall to feel finished without looking overdone. I kept coming back to rich wood, brass, soft neutrals, and one piece of artwork I really loved.
Before purchasing a single piece, I wanted to define how I wanted the room to feel, not just how I wanted it to look. I was drawn to warm walnut tones, soft linen textures, aged brass, beautiful artwork, and layered accessories.
Before
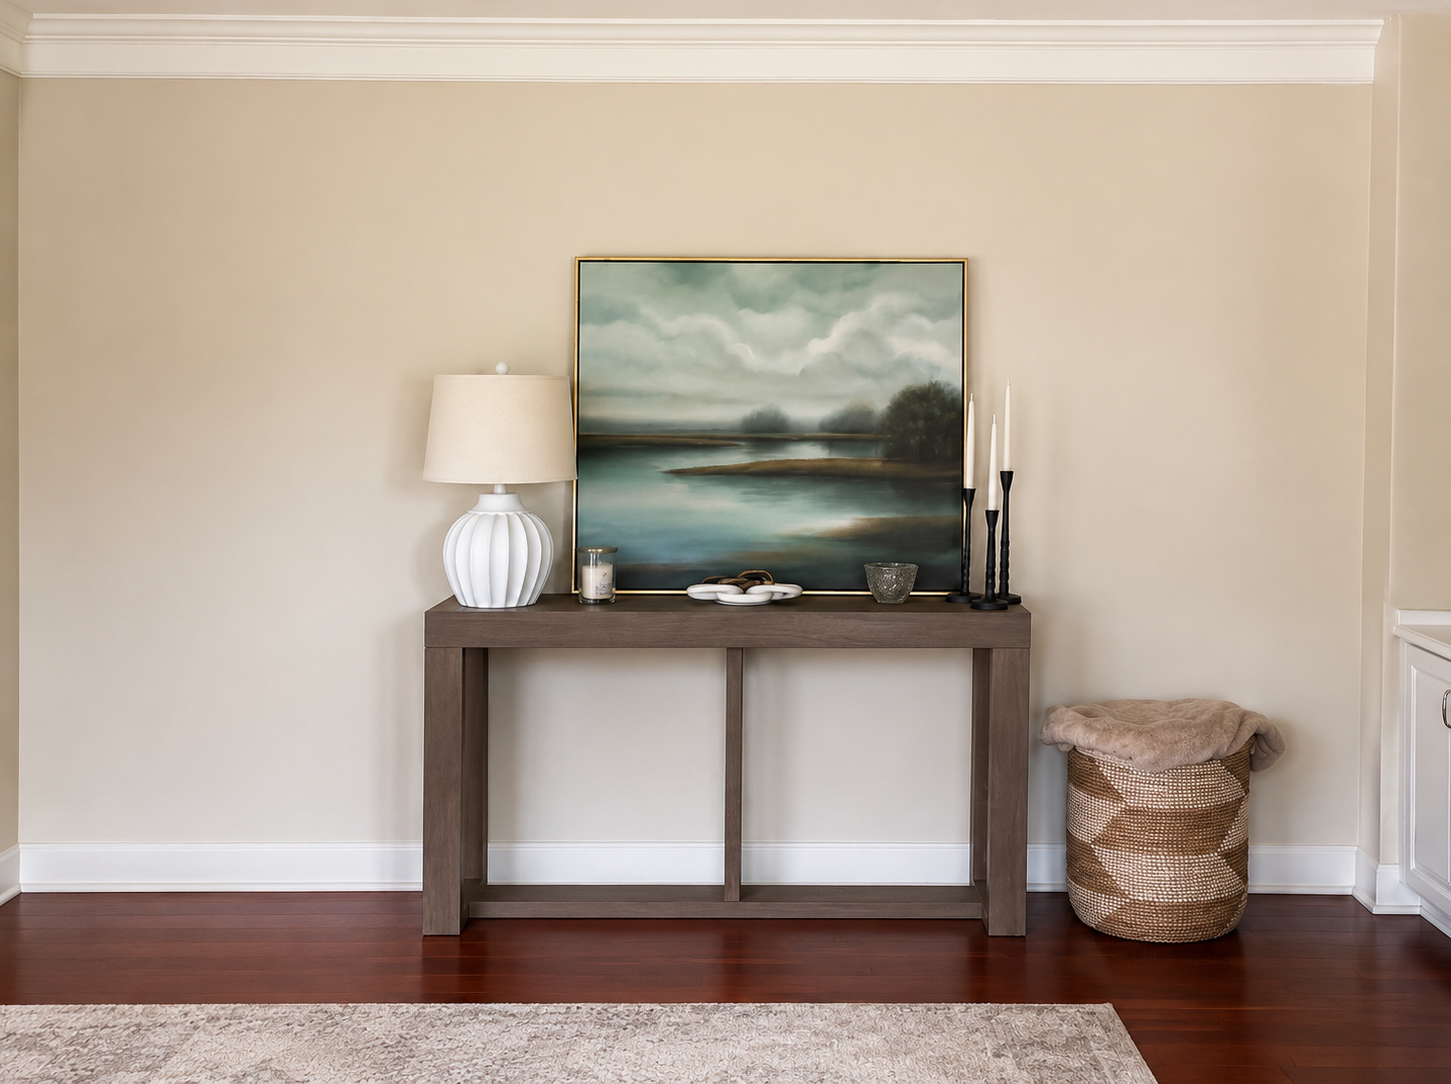
Before Photo
When we moved into our home, this wall was completely blank. It lacked architectural detail and didn't create the focal point I envisioned for our living room.
Before choosing a console, lighting, or accessories, I invested in one piece I knew I would love for years to come: the artwork. It became the piece I kept coming back to as I made the rest of the decisions for the wall.
Rather than replacing everything at once, I started asking a simple question:
“What does this wall actually need?”
That question guided every decision from this point forward.
Adding Architectural Character
The first thing I changed wasn't the furniture. It was the wall itself.
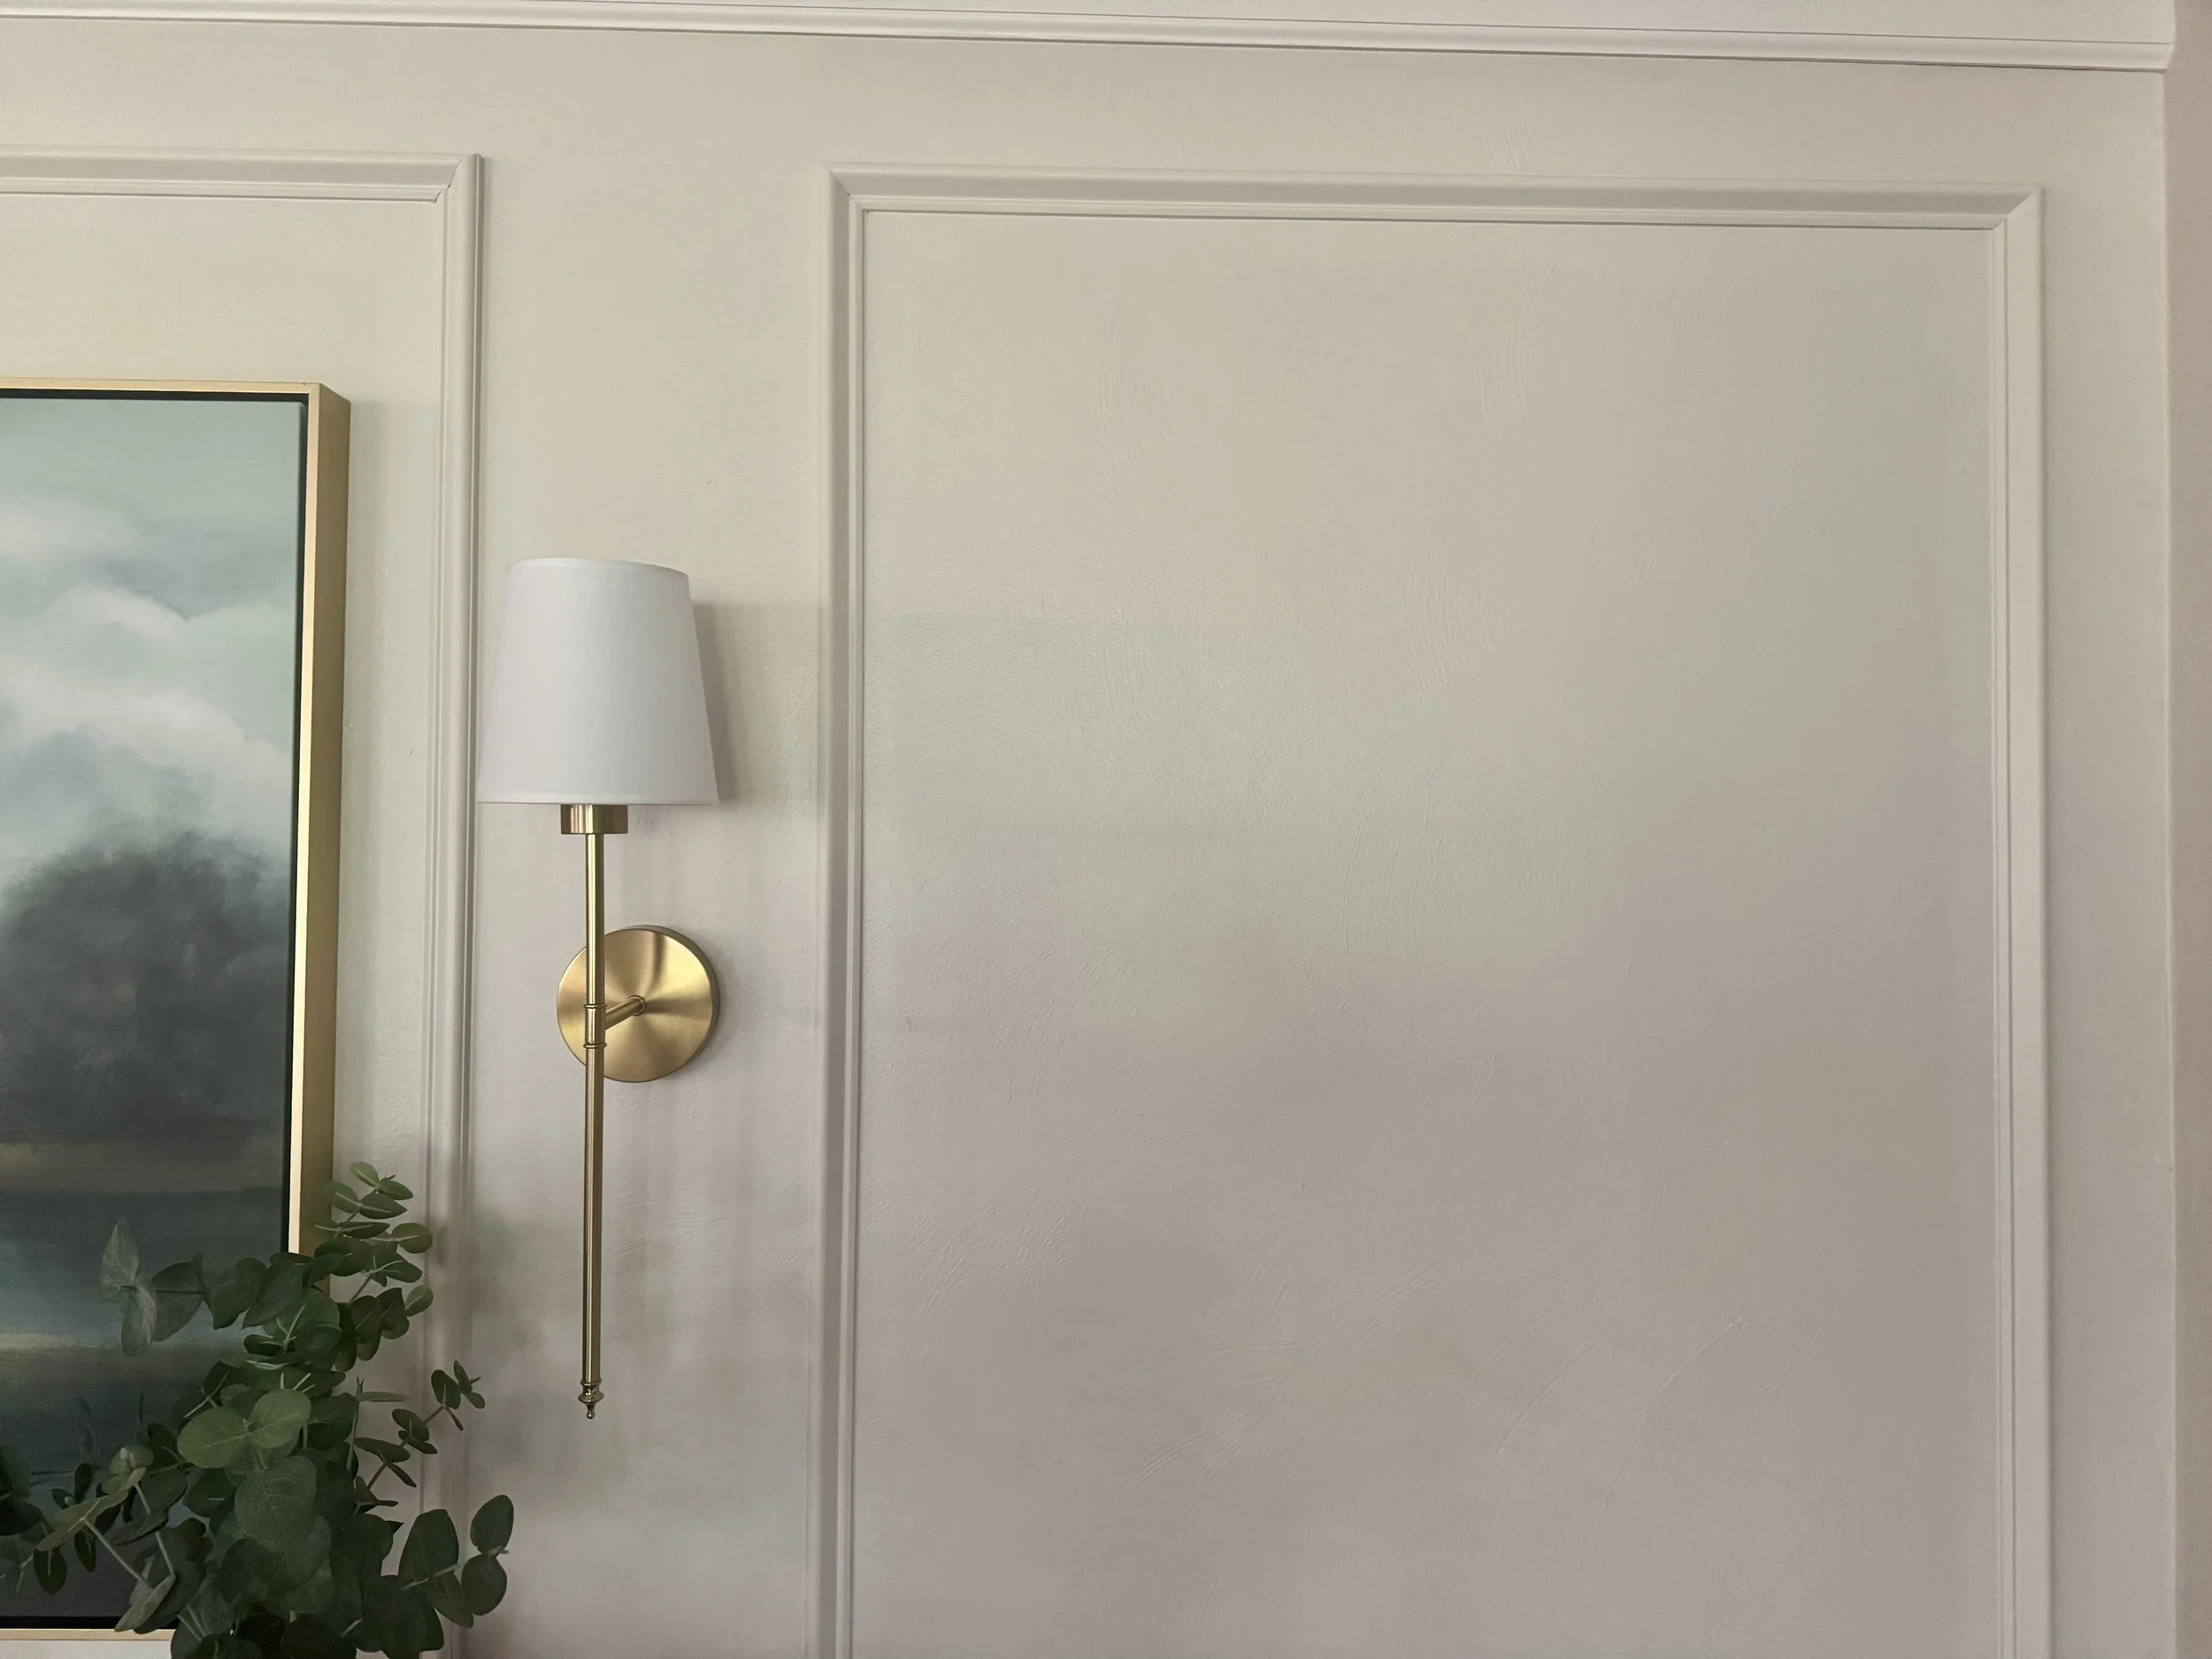
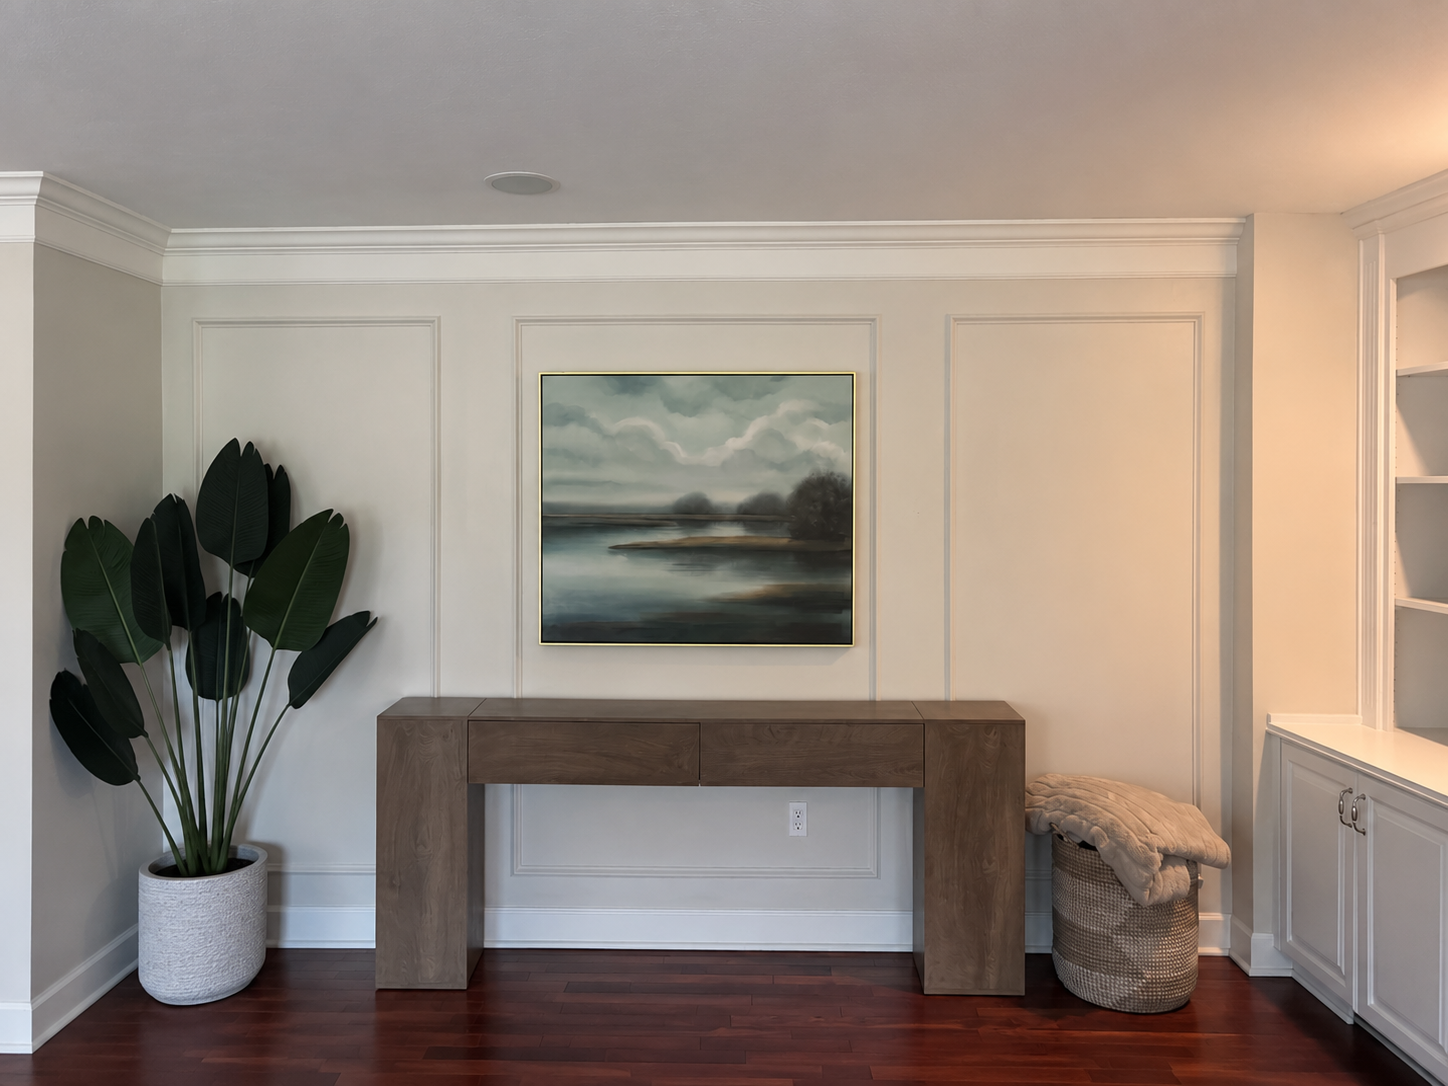
I knew I didn't want to fill a blank wall with more decor just to make it feel finished. Adding picture-frame molding gave the wall the character it was missing before I purchased a single piece of furniture.
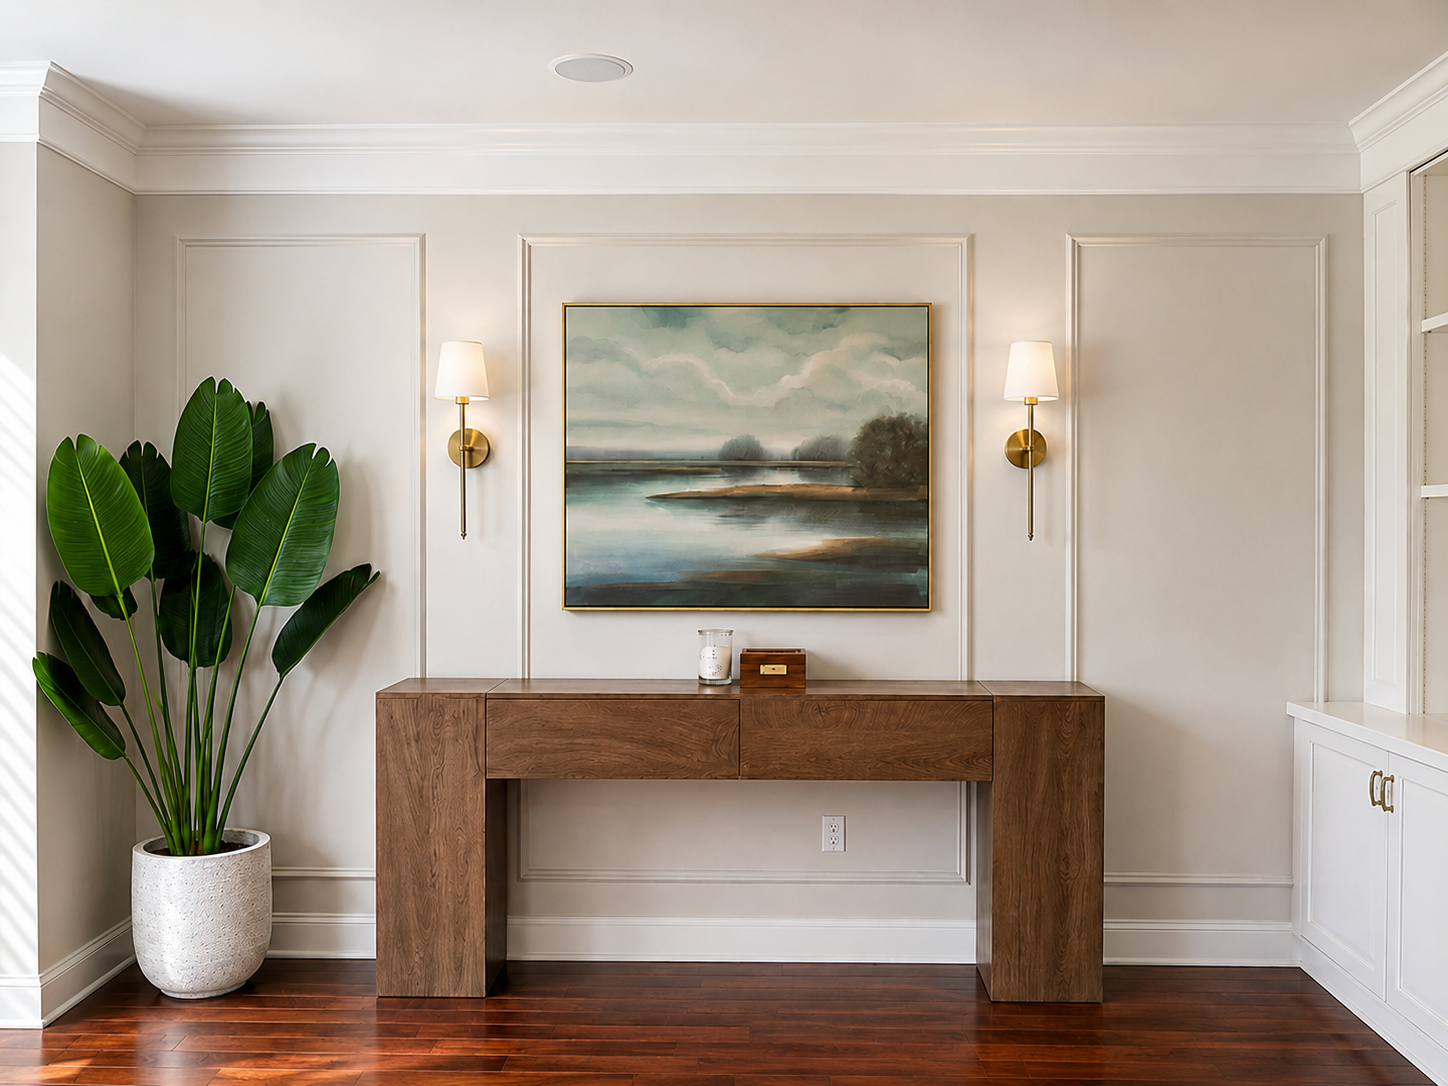
After measuring the wall and sketching several layouts, I settled on a design that framed the artwork while keeping the overall look balanced and symmetrical.
Once the molding was up, the wall finally had enough interest that I didn’t feel like I needed to fill it with more decor.
Finding the Right Console
Choosing the console table took much longer than I expected.
I considered several different styles before finally selecting one that had the warmth, scale, and price point I was looking for. I wanted something substantial enough to anchor the wall while still allowing the molding and artwork to remain the focal point.
This is a collection of the many options I considered.
I'm glad I waited rather than buying something just to fill the space.
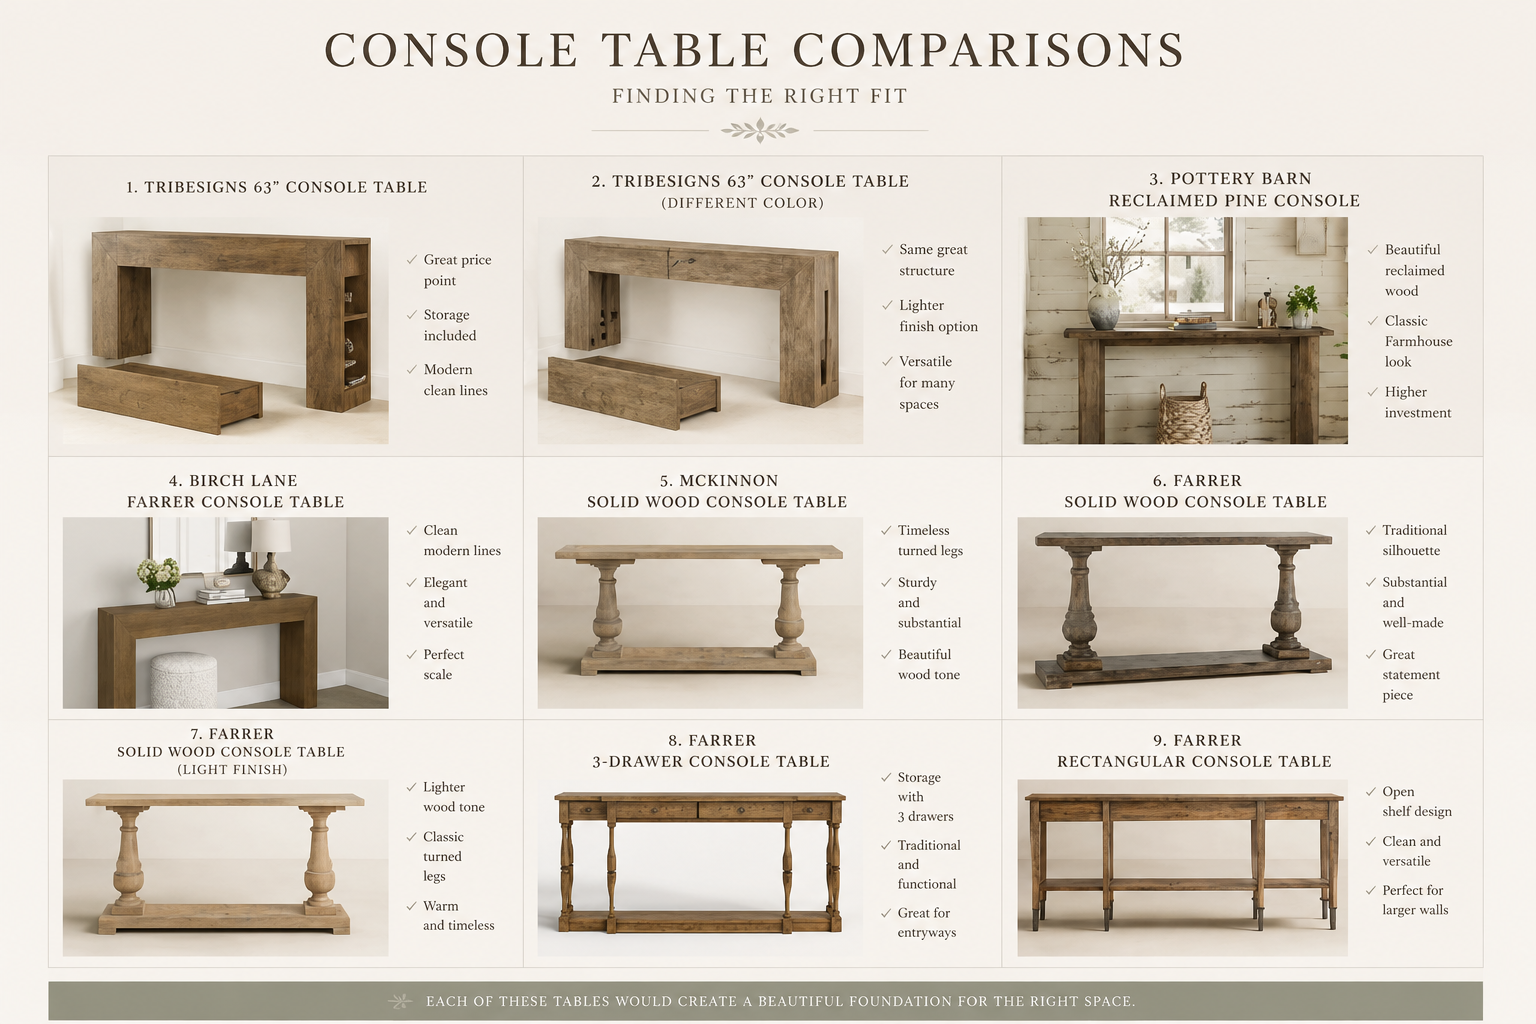
Console Comparisons - AI Generated
Adding the Sconces
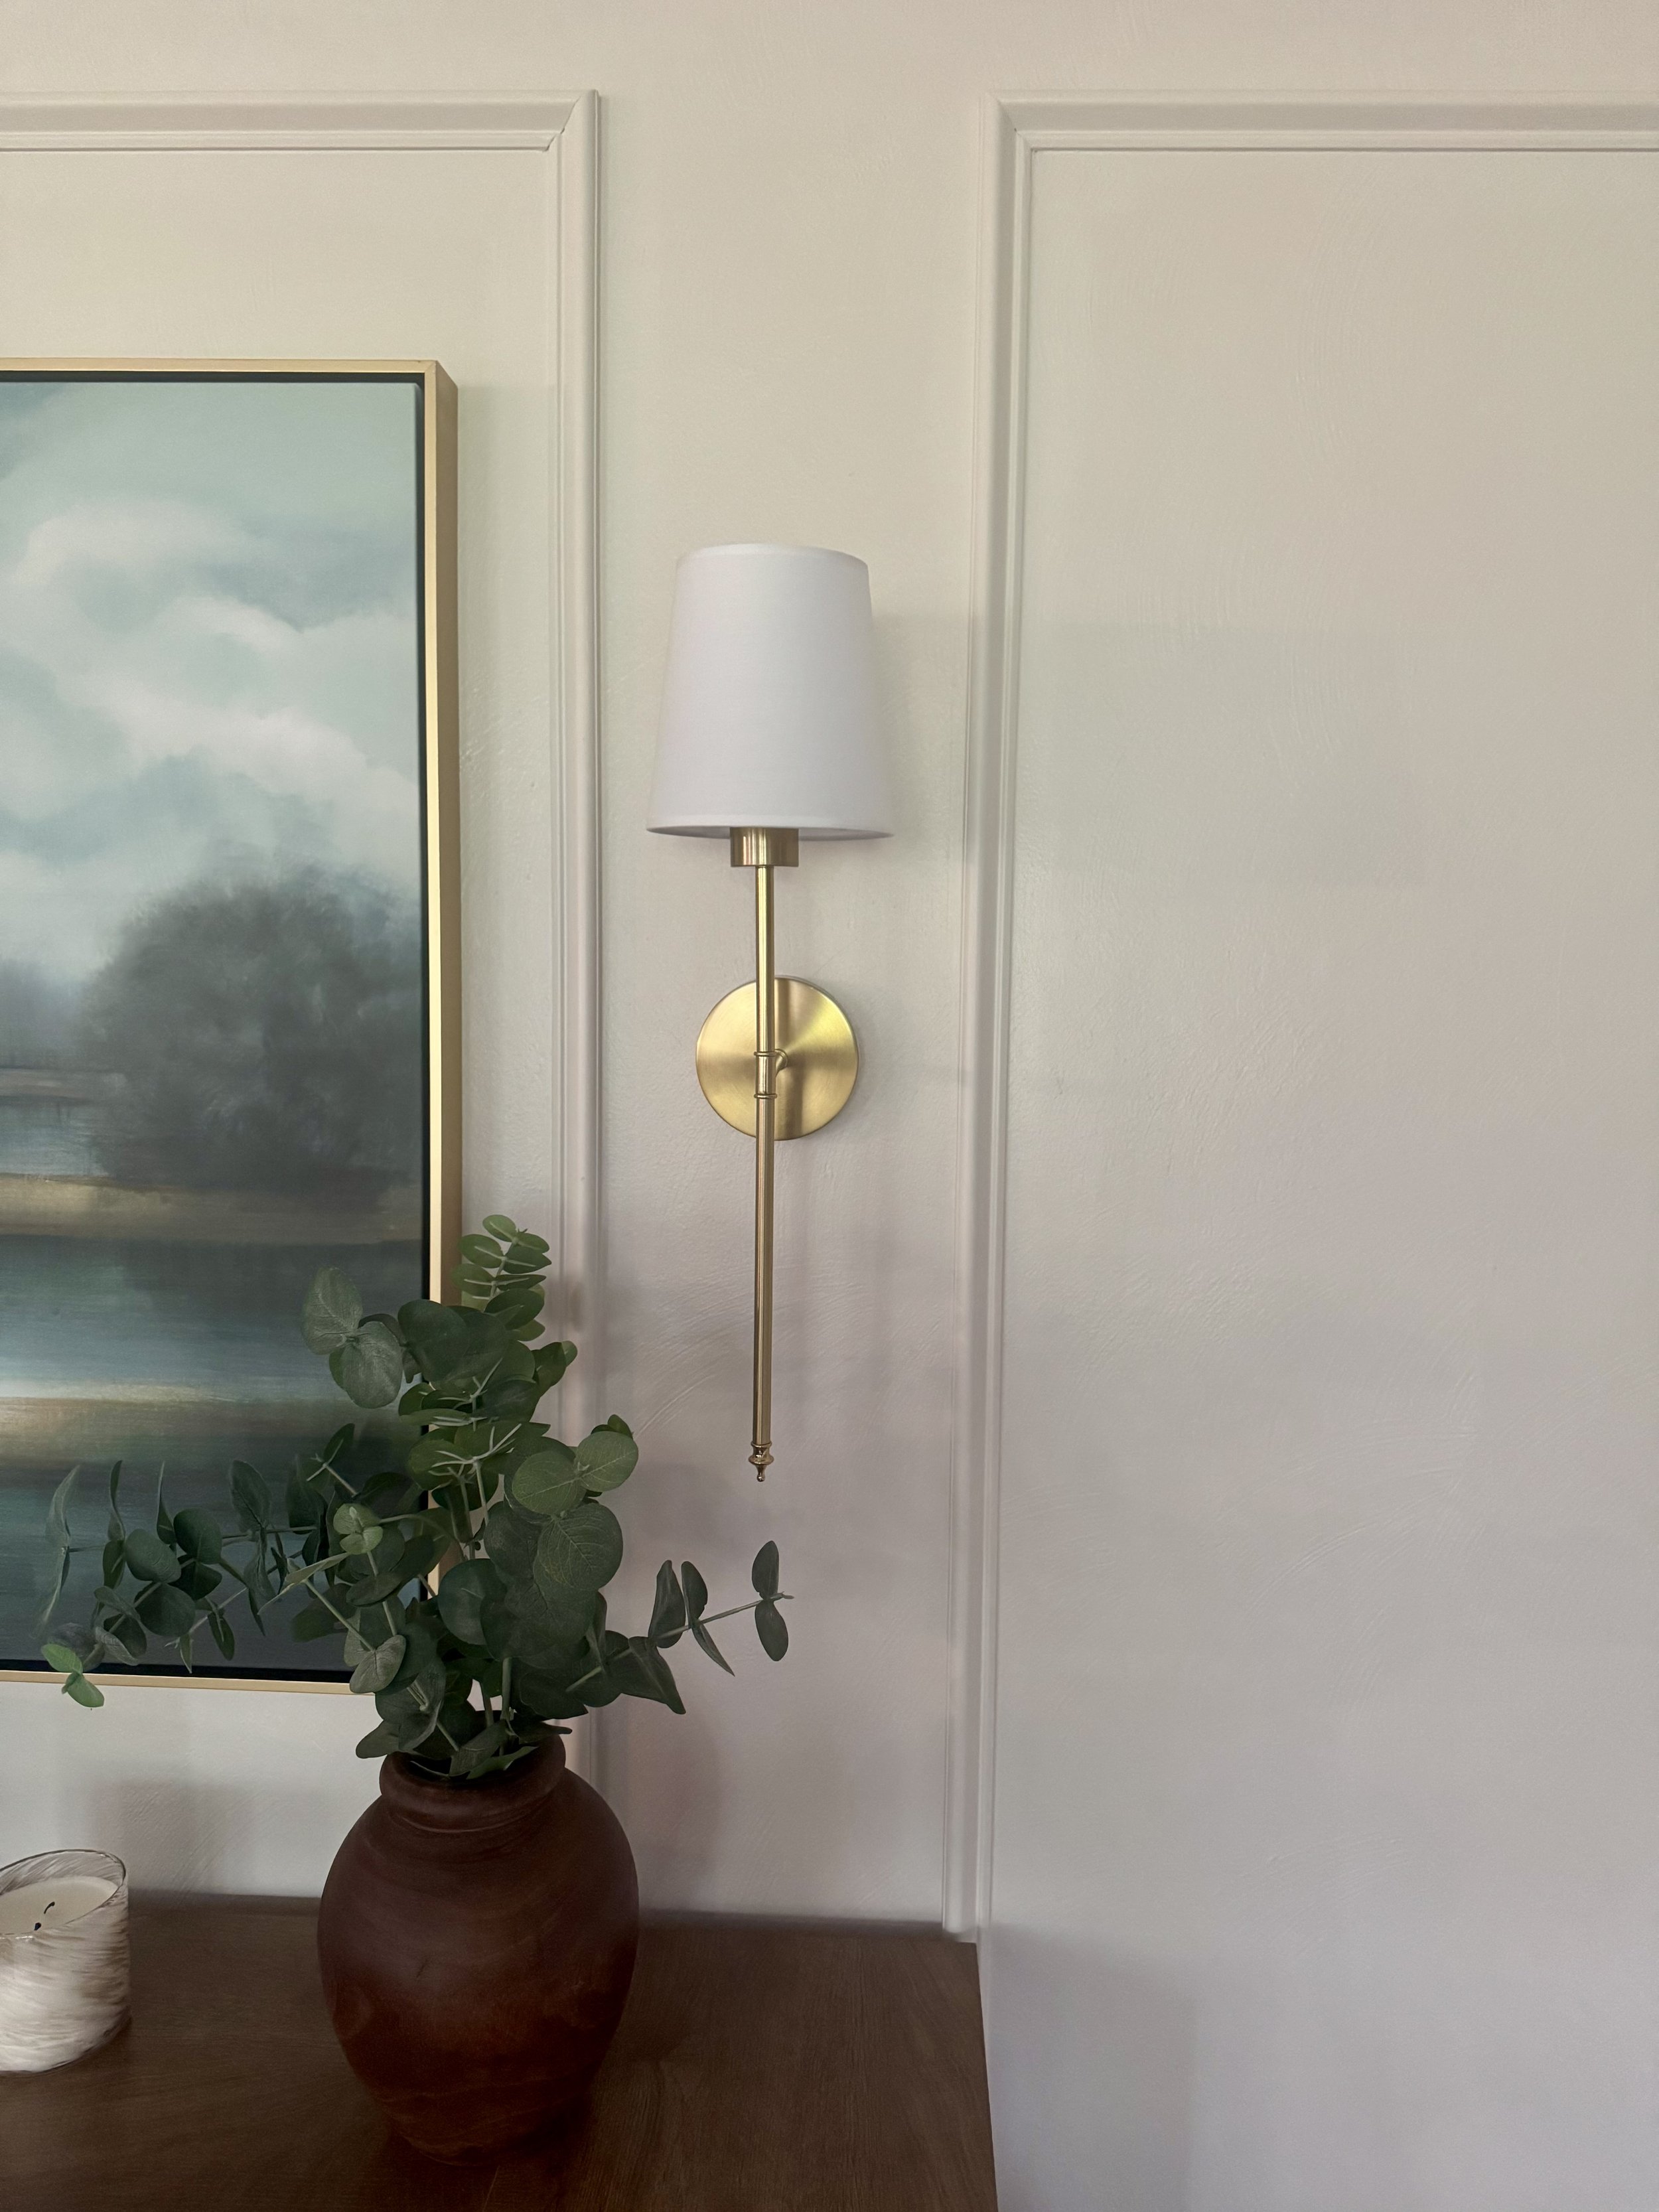
Once the molding was finished, I knew I wanted lighting on either side of the artwork.
The brass sconces ended up being one of my favorite additions. Even when they're turned off, they add something beautiful to the wall. And in the evening, the softer light completely changes the feeling of the room.
This project was one of the reasons I started thinking about lighting as more than something functional.
The Lamp That Almost Didn't Happen
If you've followed this project, you know the lamp became an adventure.
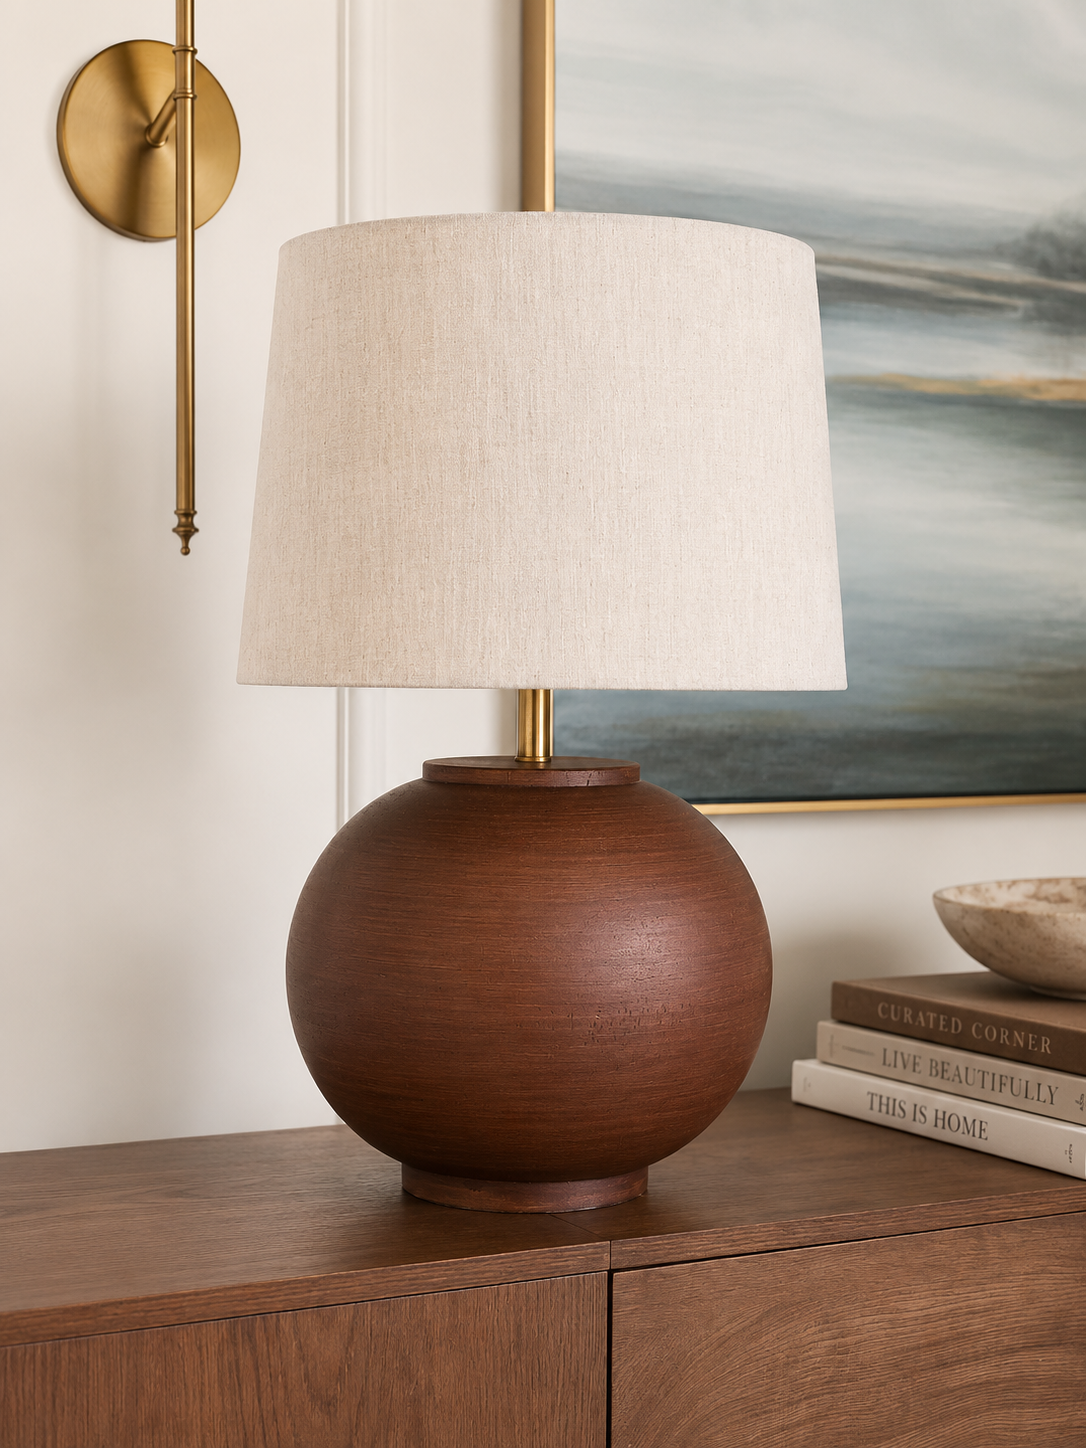
I wish I could tell you I found the right lamp on the first try. I didn't. I tried different shapes, different finishes, and more lamps than I'd like to admit.
It reminded me that decorating isn’t about buying the first thing you like. Sometimes you have to try a few things before you know what actually works.
Looking back at this lamp choice, I'm so glad I kept searching.
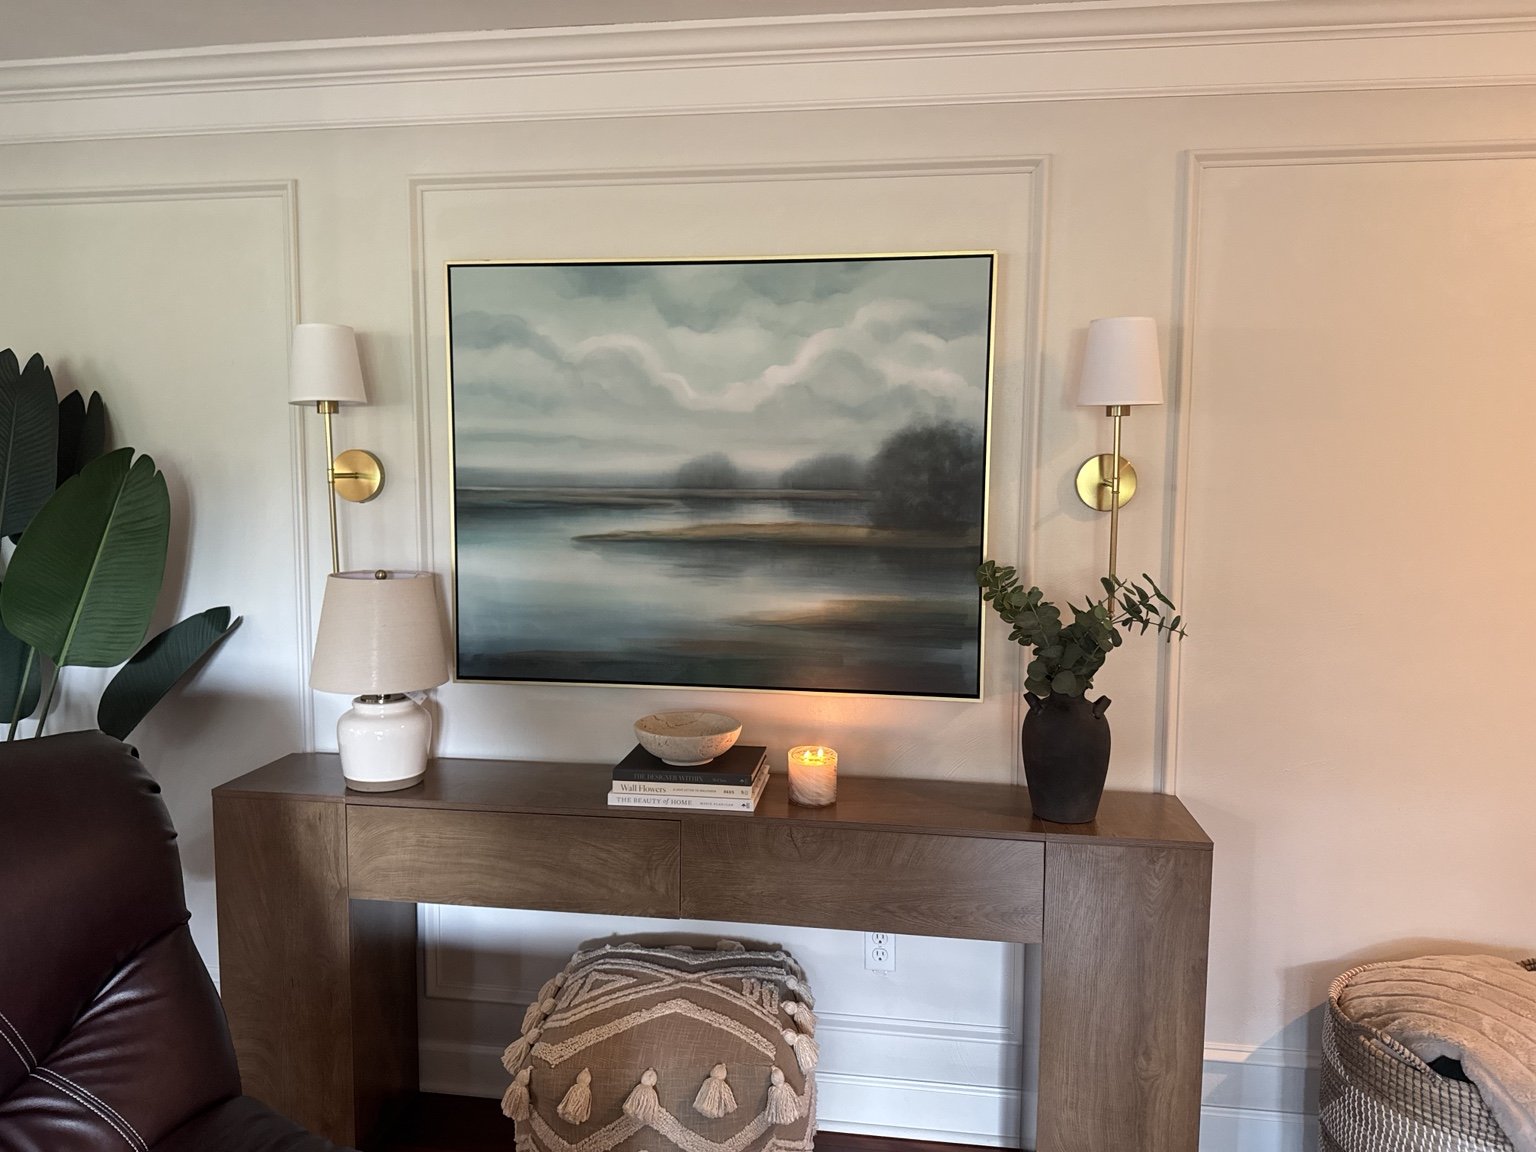
Wrong Lamp Choice
Layering the Final Details
Once the bigger pieces were in place, I could finally start adding the smaller things.
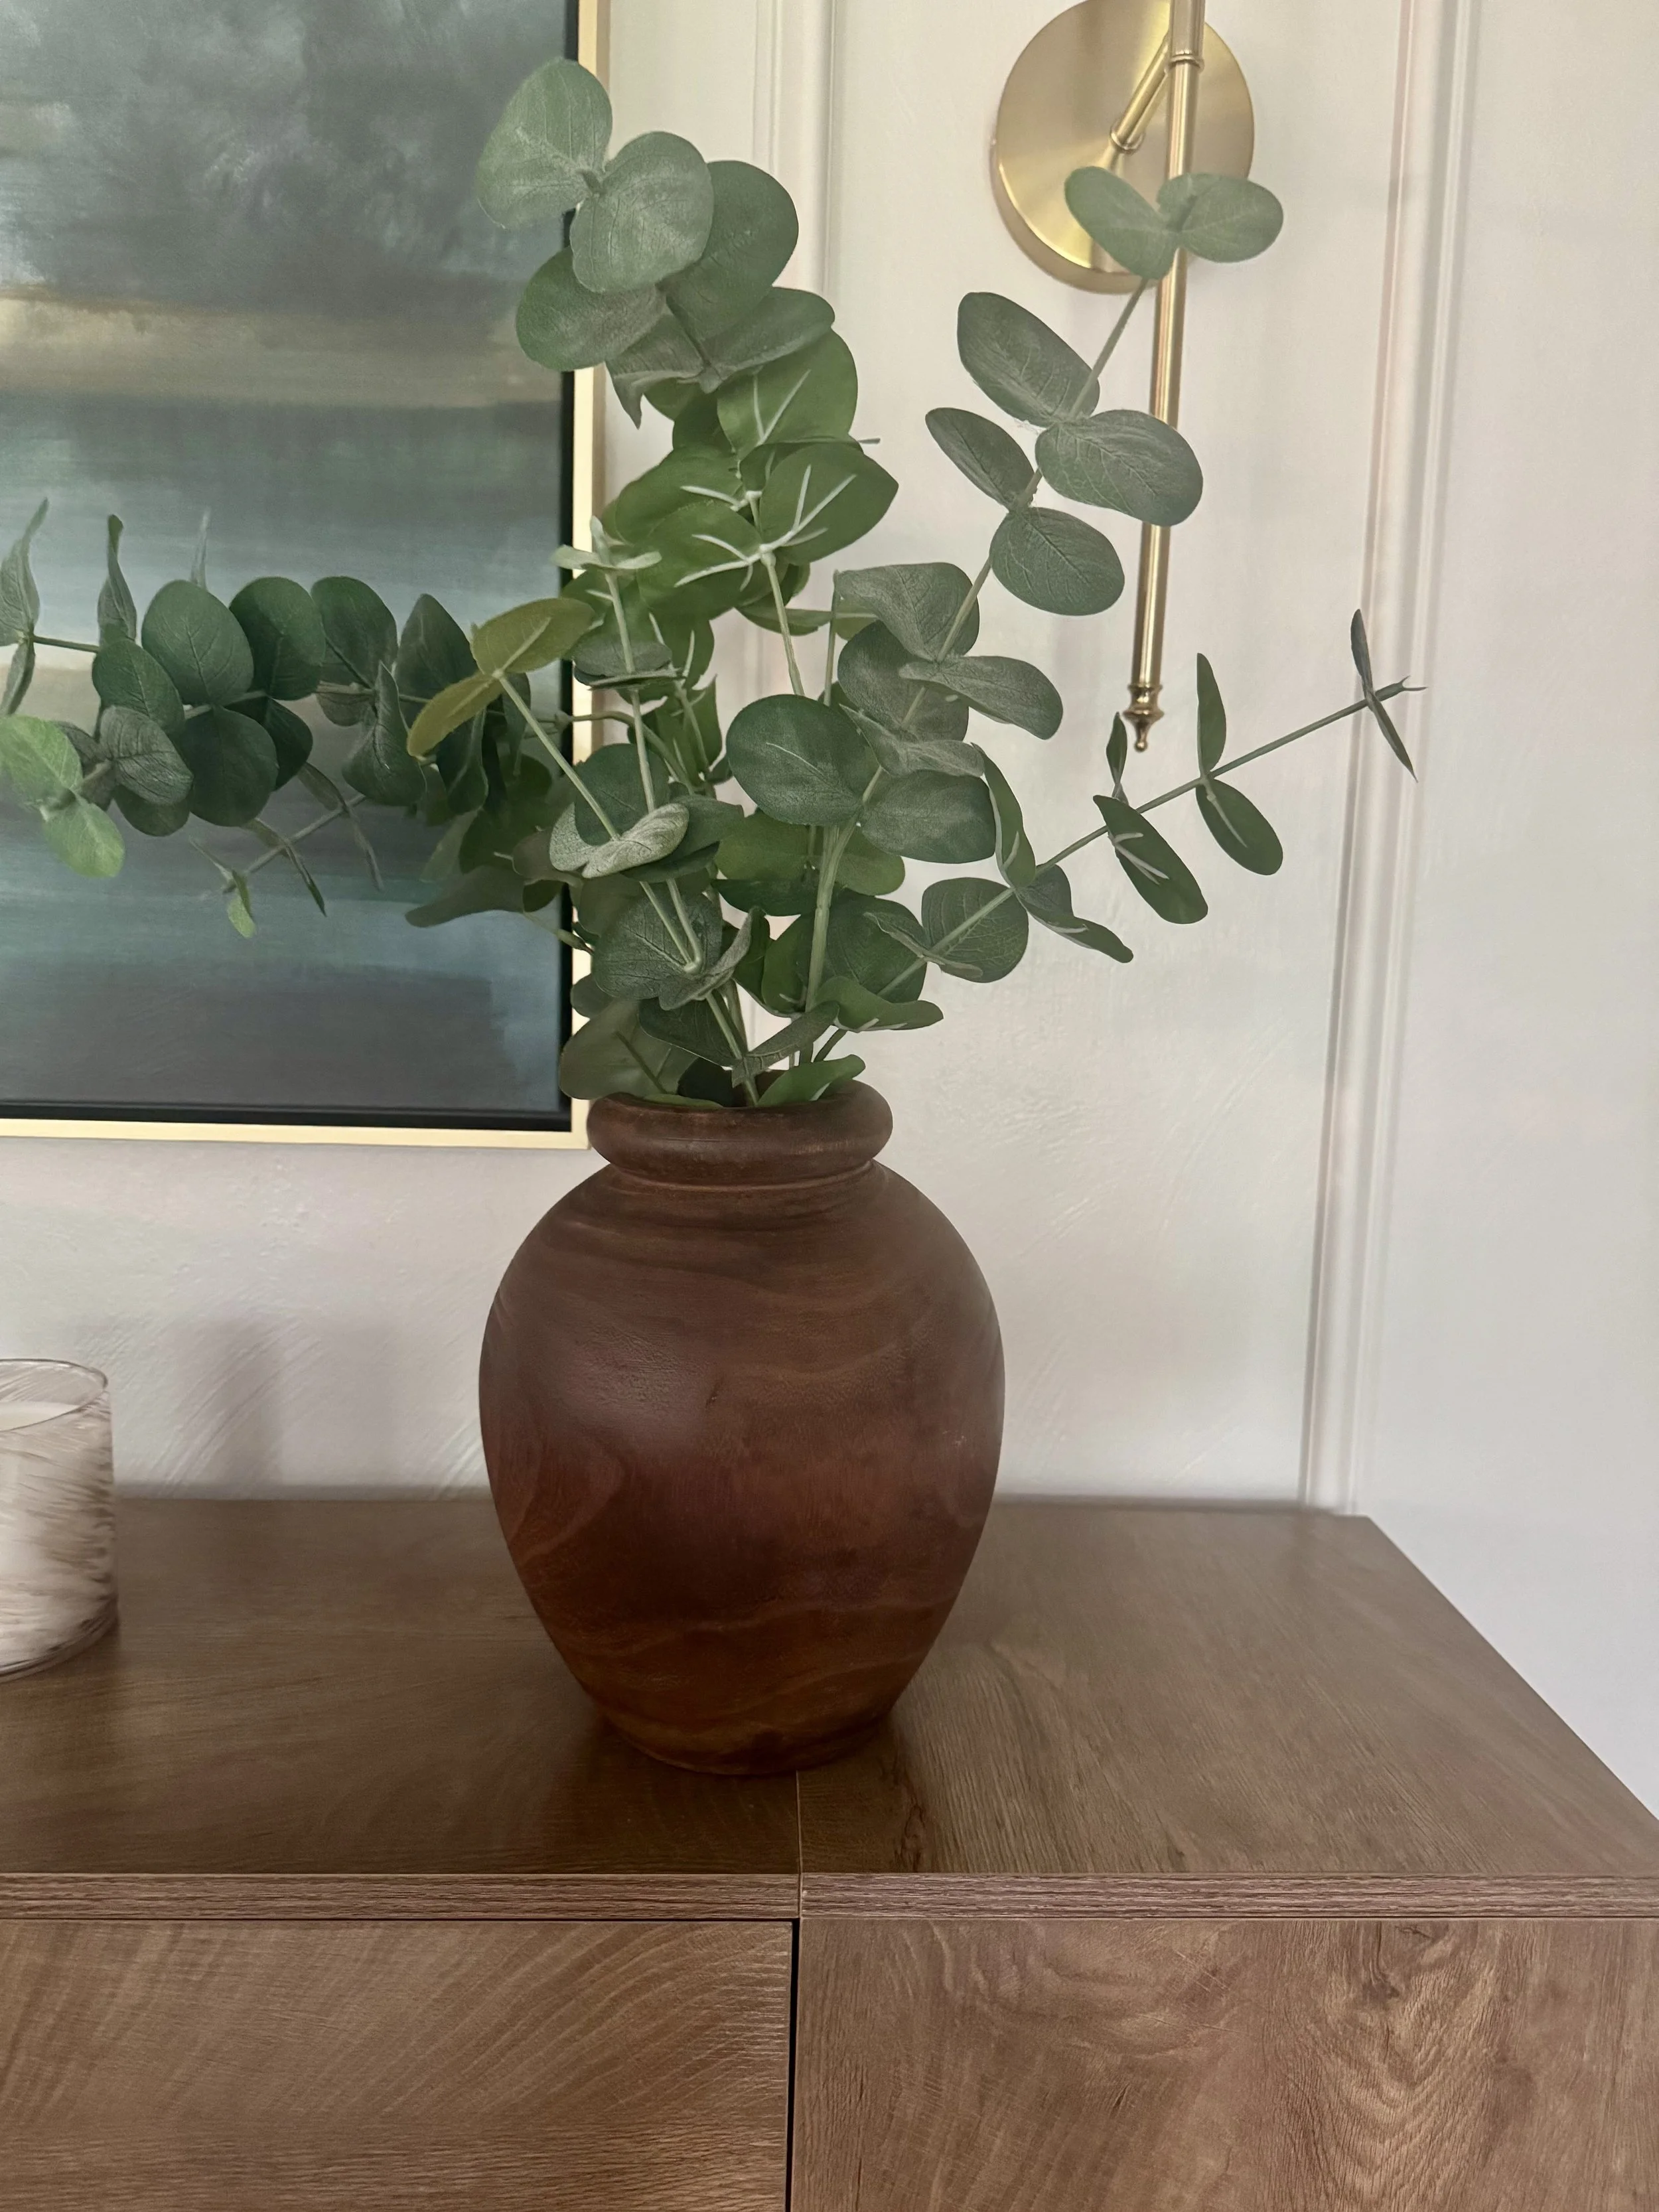
A walnut vase and greenery.
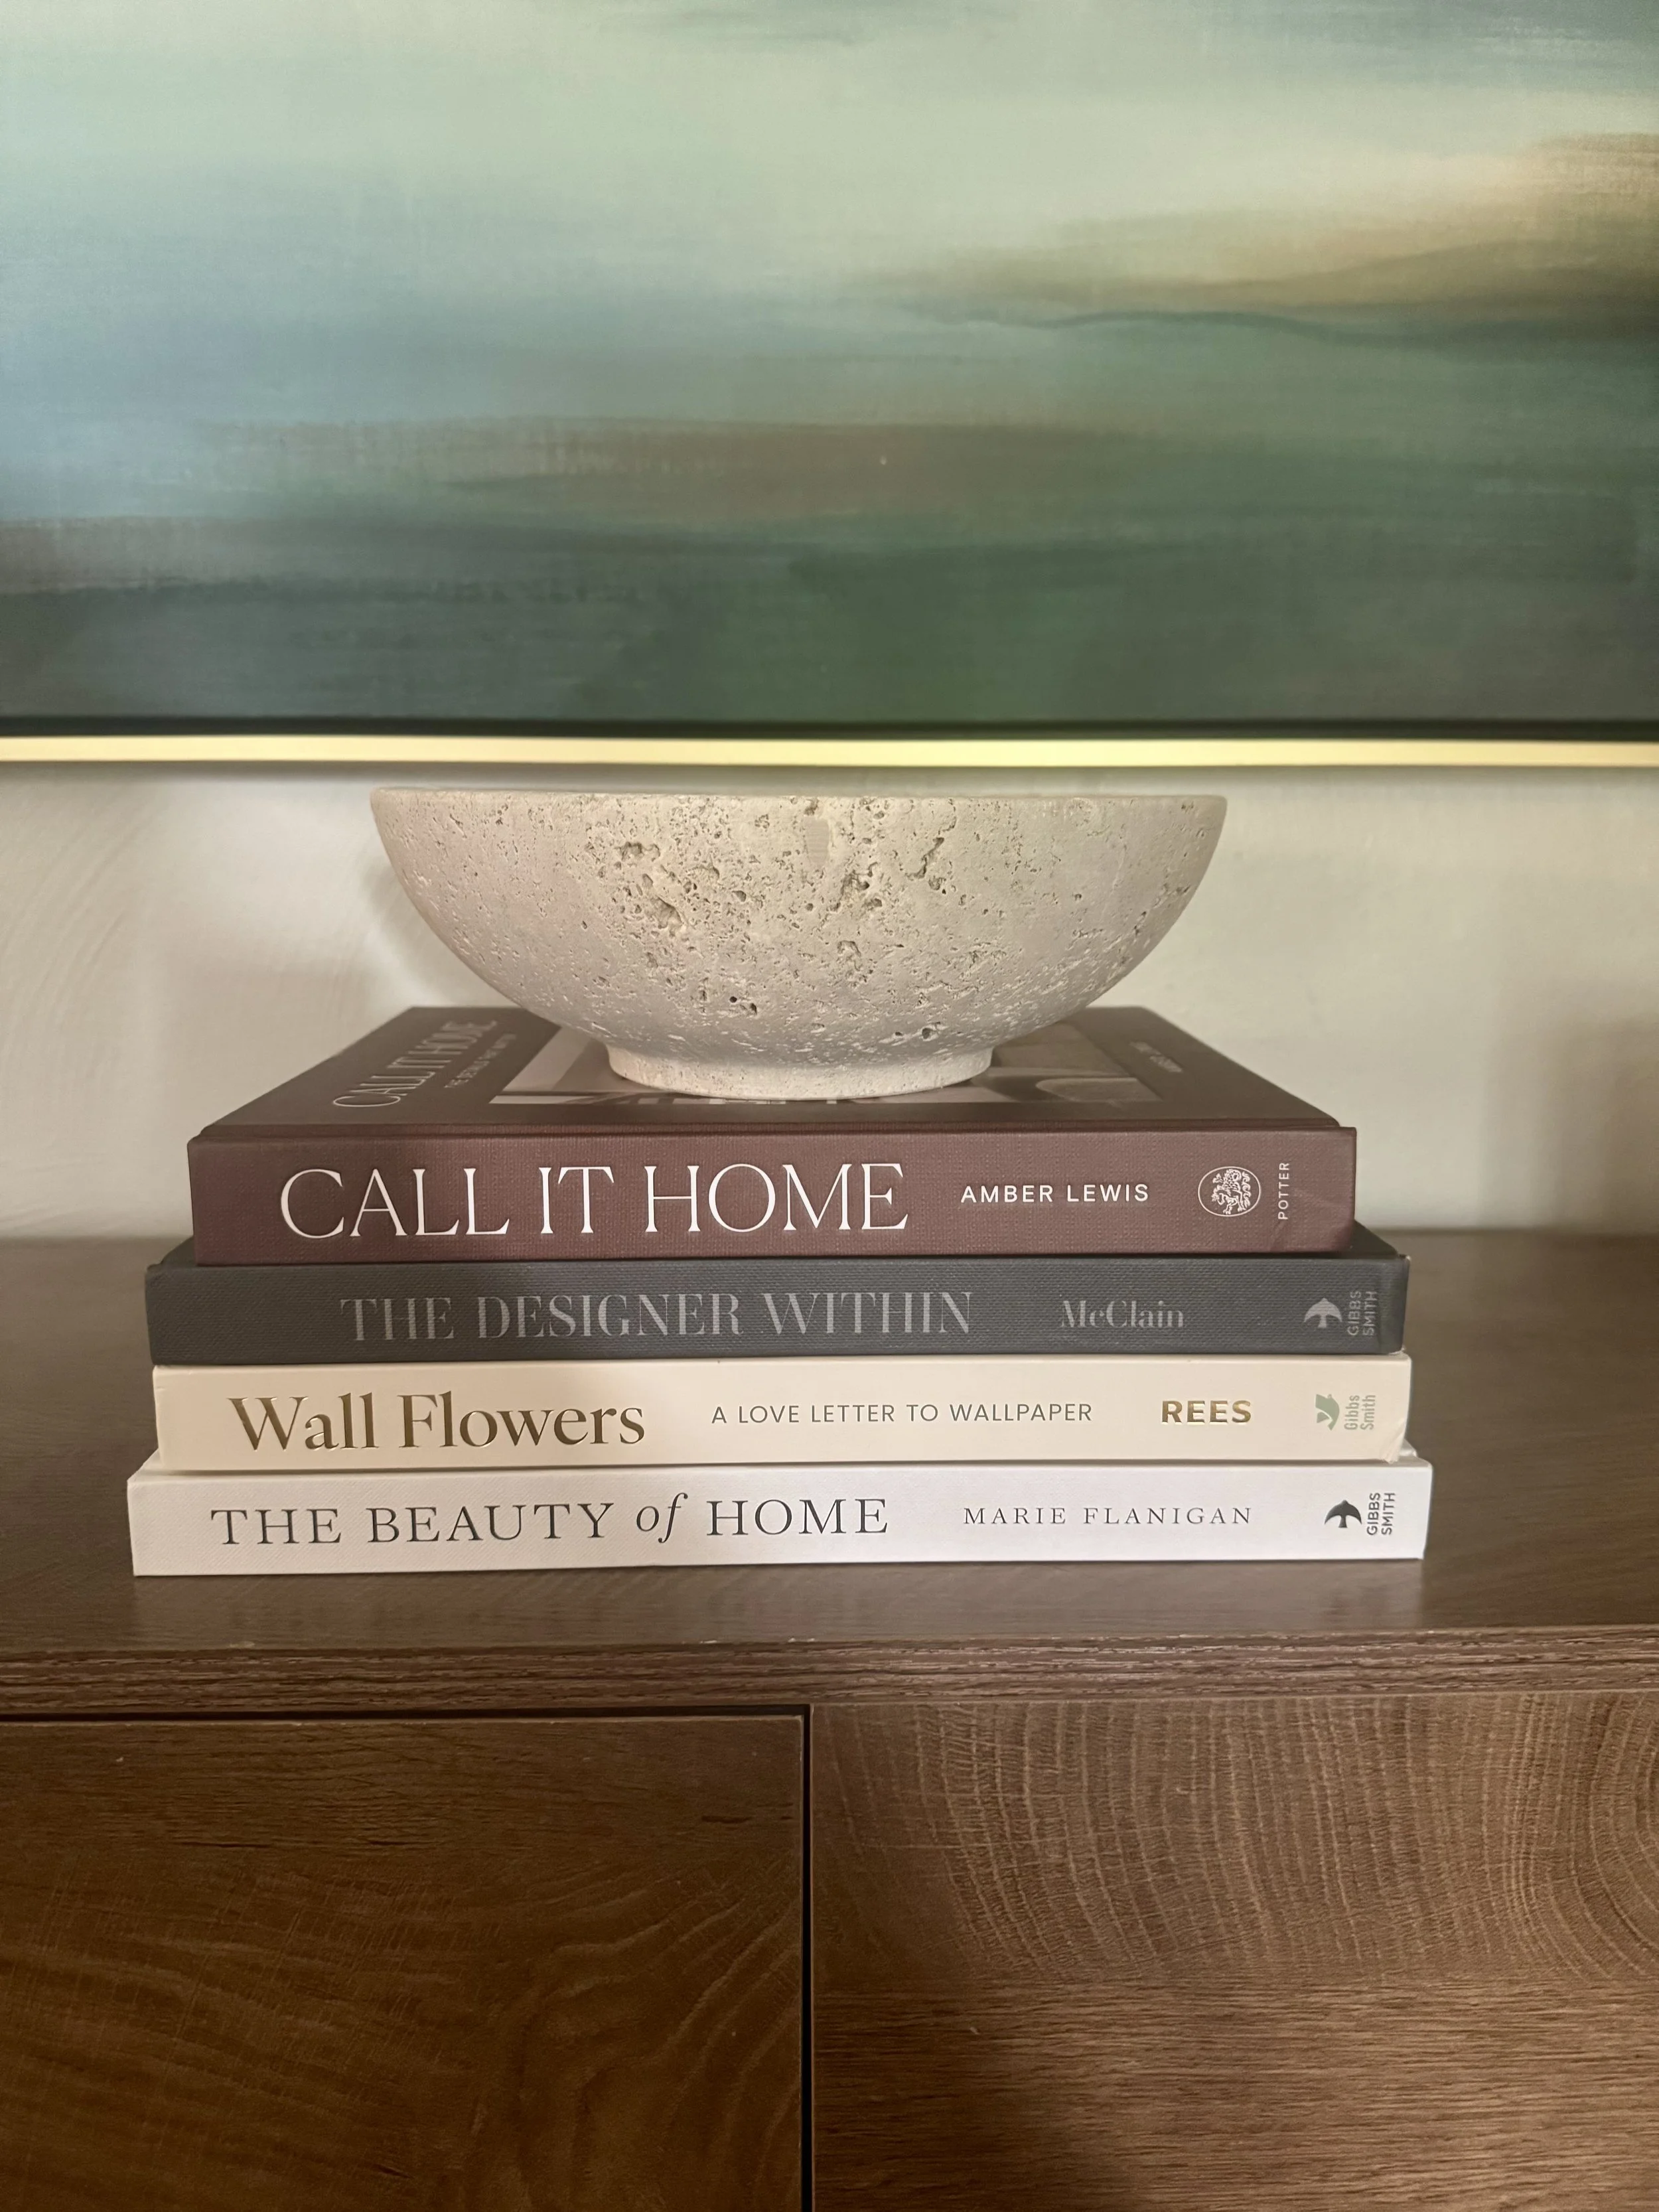
A few books.
A decorative bowl.
Candles.
And, eventually, the lamp.
I didn't want to fill every inch of the console. I wanted enough to make it feel finished while still giving everything a little room to breathe.
Finishing the Space with Hidden Function
The space beneath the console still felt a little empty, so I started looking for something that could add softness without making the wall feel crowded.
I found two upholstered ottomans that fit almost perfectly underneath. They added texture, gave the console a little more visual weight, and happened to give us extra seating too.
I love that they’re useful without calling attention to themselves. They’re one of those details I don’t notice every day, but I’d miss them if they weren’t there.
The Finished Room
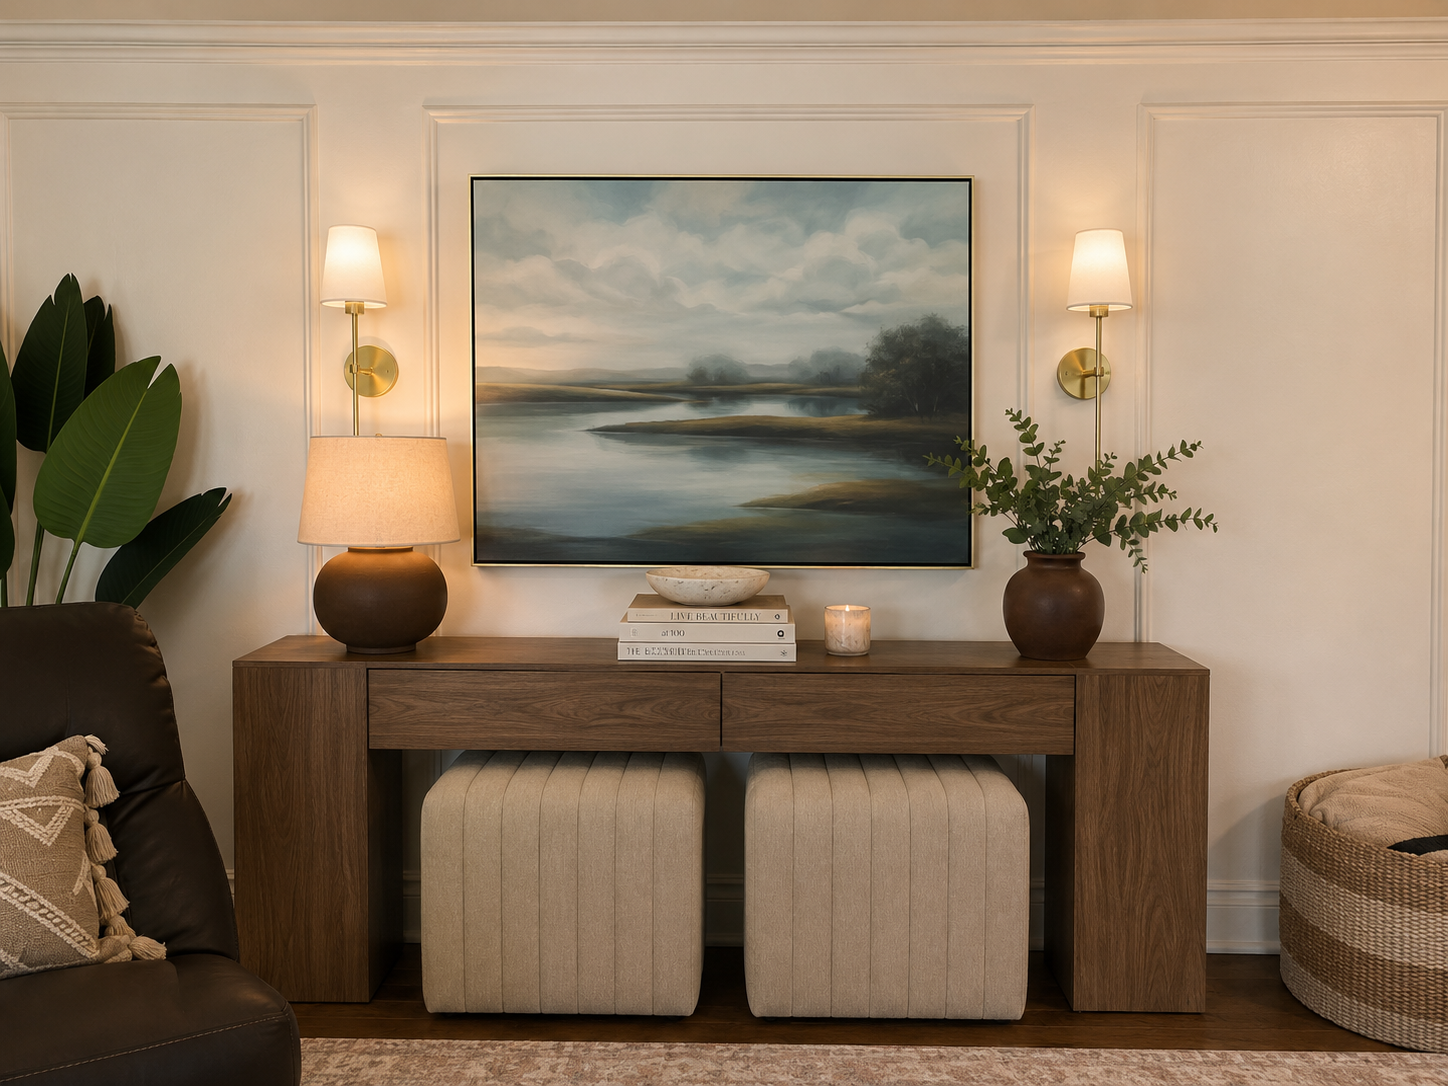
After Photo
When I look at this wall today, I don't just see the molding, sconces, artwork, or console.
I remember how slowly it came together.
The console that took forever to choose. The lamps that didn't work. The sconces I ended up loving more than I expected. The little changes I made along the way.
And I'm actually glad it happened that way.
Shop the Look
Affiliate Disclosure: This post contains some affiliate links, as an Amazon Associate, I earn from qualifying purchases. If you purchase through these links, I may earn a small commission at no additional cost to you. I only recommend products I genuinely love and would use in my own home.
SHOP MY LIVING ROOM WALL ON MY AMAZON STOREFRONT
or by individual product below:
Lamp (At Home)
Vase (At Home)
Books - Call it Home, The Designer Within, The Art of Home
Ottomans - from Kirklands (discontinued, alternative below)
Get a Similar Look HereConsole Table (Extra Long 79'“)
Console Table (63” Option)
Final Thoughts
This room taught me that decorating isn't about getting everything right the first time.
Some things work. Some don't. Sometimes the right piece takes longer to find than you expected.
And that's okay.
Looking back, I’m glad this wall came together slowly. Each decision helped me understand what the next one needed to be.
And eventually, a wall I used to hurry past became one of my favorite parts of the room
Continue the Journey
If you enjoyed this makeover, you might also like:
→ How I Turned My Dining Room into a Timeless Gathering Space
→The Five Principles that Guide Every Room I Design
Thank you for following along with this one.
Happy decorating!